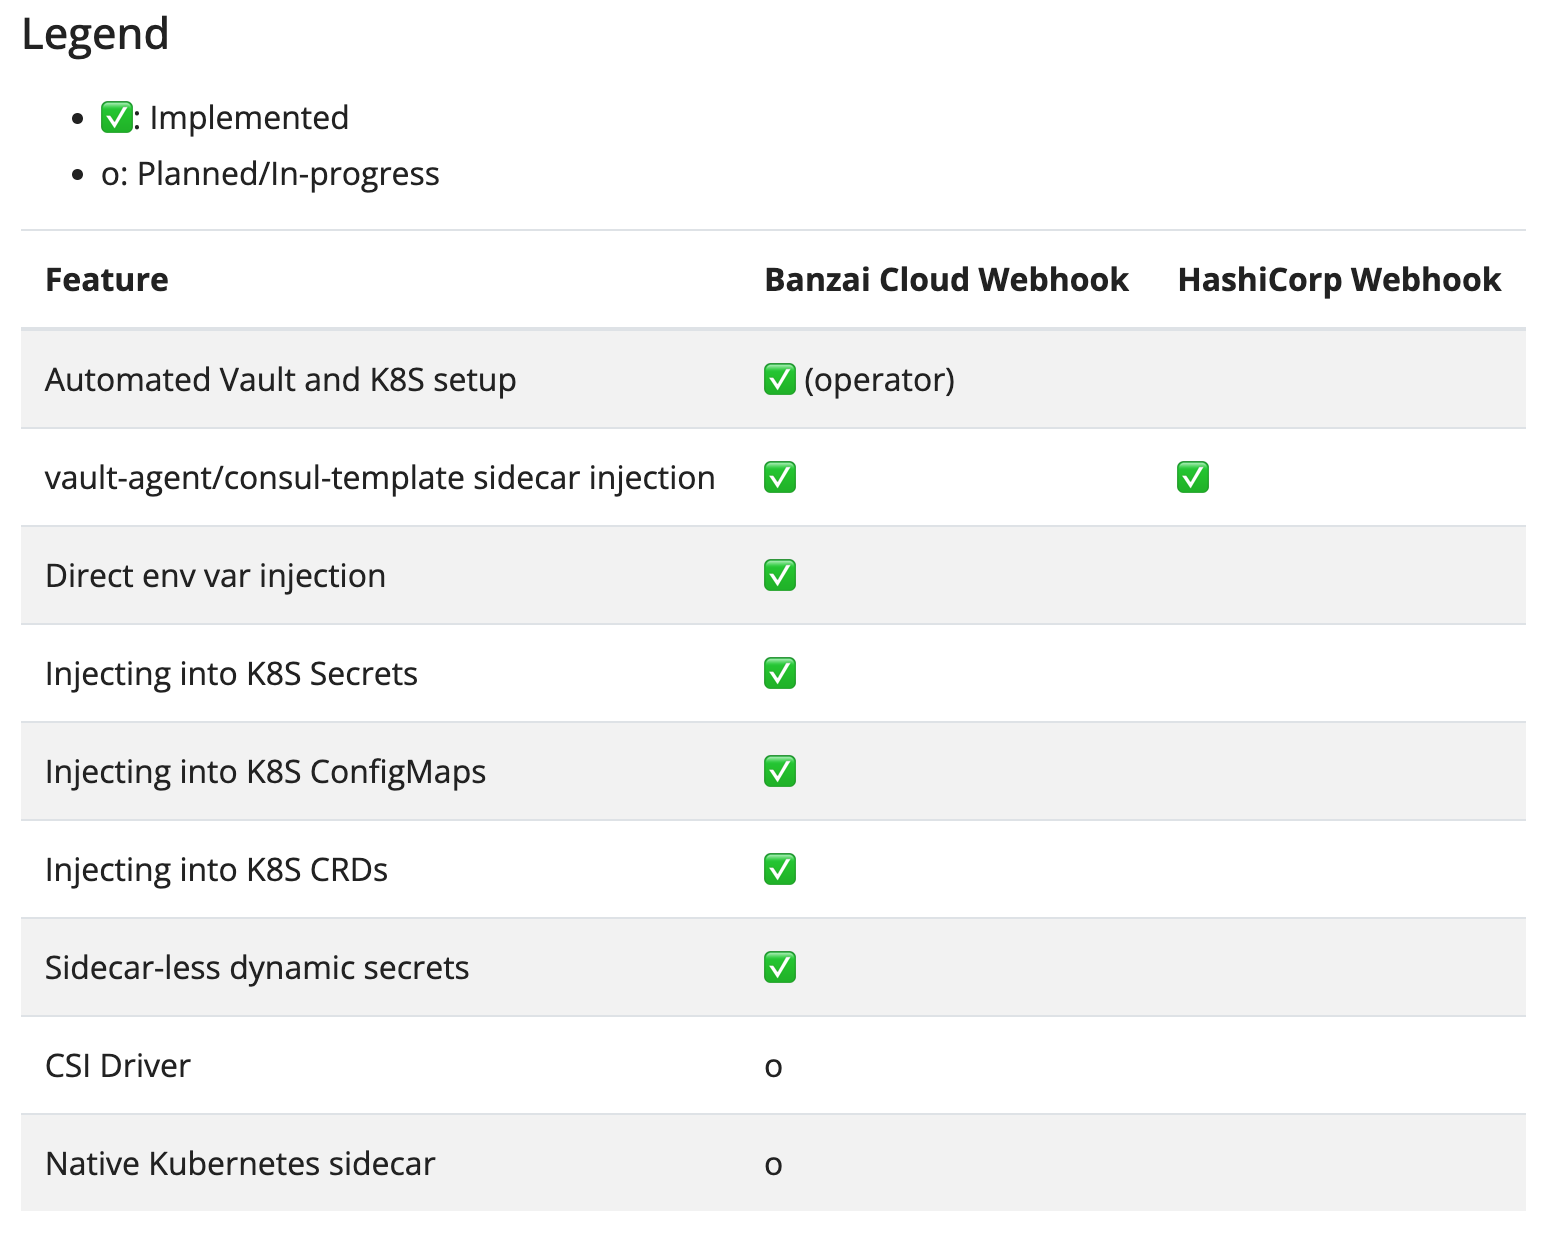
在 Kubernetes 中,我们通常会使用 Secret 对象来保存密码、证书等机密内容,然而 kubeadm 缺省部署的情况下,Secret 内容是用明文方式存储在 ETCD 数据库中的。能够轻松的用 etcdctl 工具获取到 Secret 的内容。通过修改 --encryption-provider-config 参数可以使用静态加密或者 KMS Server 的方式提高 Secret 数据的安全性,这种方式要求修改 API Server 的参数,在托管环境下可能没有那么方便,Hashicorp Vault 提供了一个变通的方式,用 Sidecar 把 Vault 中的内容加载成为业务容器中的文件。
安装和启动 Vault
官网提供了各种系统中的安装指导,例如 CentOS 中可以用包管理器来安装:
$ yum install -y yum-utils
$ yum-config-manager --add-repo https://rpm.releases.hashicorp.com/RHEL/hashicorp.repo
$ yum -y install vault
...
安装结束后,就可以启动一个开发服务器了:
$ vault server -dev -dev-root-token-id root -dev-listen-address [主机地址]:8200
...
WARNING! dev mode is enabled! In this mode, Vault runs entirely in-memory
...
You may need to set the following environment variable:

    $ export VAULT_ADDR='http://9.134.14.252:8200'

The unseal key and root token are displayed below in case you want to
seal/unseal the Vault or re-authenticate.

Unseal Key: rpn1ad4t3B4OeUFRAJWUjcmsCmCcEJFaPFjWLbs0IFM=
Root Token: root
...
上面的命令中,指定了登录 Token 为 root,监听地址为 [主机地址]:8200,返回信息中也有提示,开发服务的内容是保存在内存中的,无法适应生产环境的应用。
写入测试数据
首先登陆 Vault:
$ vault login root
Success! You are now authenticated. The token information displayed below
...
然后创建测试数据:
vault kv put secret/devwebapp/config username='giraffe' password='salsa'
Key              Value
---              -----
created_time     2020-08-11T16:59:42.076636Z
deletion_time    n/a
destroyed        false
version          1
在 Kubernetes 中引入 Vault 服务
在 Kubernetes 中可以为 Vault 创建 Endpoint 和 Service,用于为集群内提供服务:
apiVersion: v1
kind: Service
metadata:
  name: external-vault
  namespace: default
spec:
  ports:
  - protocol: TCP
    port: 8200
---
apiVersion: v1
kind: Endpoints
metadata:
  name: external-vault
subsets:
  - addresses:
      - ip: [主机地址]
    ports:
      - port: 8200
这样我们就给外部的 Vault 服务创建了一个集群内的服务端点。接下来创建一个 Deployment 来测试读取数据:
apiVersion: apps/v1
kind: Deployment
metadata:
  name: devwebapp-through-service
  labels:
    app: devwebapp-through-service
spec:
  replicas: 1
  selector:
    matchLabels:
      app: devwebapp-through-service
  template:
    metadata:
      labels:
        app: devwebapp-through-service
    spec:
      containers:
      - name: app
        image: burtlo/devwebapp-ruby:k8s
        imagePullPolicy: Always
        env:
        - name: SERVICE_PORT
          value: "8080"
        - name: VAULT_ADDR
          value: "http://external-vault:8200"
这个镜像中会使用我们预先设置的开发 Token 来访问 Vault 服务,例如:
$ kubectl exec
    $(kubectl get pod --selector='app=devwebapp-through-service' --output='jsonpath={.items[0].metadata.name}')
    -- curl -s localhost:8080 ; echo
{"password"=>"salsa", "username"=>"giraffe"}
安装 Vault 注入器
使用 Helm 进行安装:
$ helm repo add hashicorp https://helm.releases.hashicorp.com
"hashicorp" has been added to your repositories
$ helm install vault hashicorp/vault
    --set "injector.externalVaultAddr=http://external-vault:8200"
这个安装器会创建 RBAC 相关内容,MutatingWebhook 以及用于执行注入的 Deployment 和 Service。
对接 Kubernetes 认证
接下来要让 Vault 接收并许可来自 Kubernetes 的请求:
# 获取 ServiceAccount 的 Token
$ VAULT_HELM_SECRET_NAME=$(kubectl get secrets --output=json | jq -r '.items[].metadata | select(.name|startswith("vault-token-")).name')

# 启用认证方式
$ vault auth enable kubernetes
Success! Enabled kubernetes auth method at: kubernetes/

# 获取 Token 内容
$ TOKEN_REVIEW_JWT=$(kubectl get secret $VAULT_HELM_SECRET_NAME --output='go-template={{ .data.token }}' | base64 --decode)

# 获取 Kubectl 的 CA 证书
$ KUBE_CA_CERT=$(kubectl config view --raw --minify --flatten --output='jsonpath={.clusters[].cluster.certificate-authority-data}' | base64 --decode)

# 获取 API Server 的地址
$ KUBE_HOST=$(kubectl config view --raw --minify --flatten --output='jsonpath={.clusters[].cluster.server}')
准备工作完成之后,就可以把这个认证配置写入 Vault:
$ vault write auth/kubernetes/config
        token_reviewer_jwt="$TOKEN_REVIEW_JWT"
        kubernetes_host="$KUBE_HOST"
        kubernetes_ca_cert="$KUBE_CA_CERT"
...
编写读取策略:
$ vault policy write devwebapp - 为 Kubernetes 创建授权角色:
$ vault write auth/kubernetes/role/devweb-app
        bound_service_account_names=internal-app
        bound_service_account_namespaces=default
        policies=devwebapp
        ttl=24h
注入 Sidecar
在测试 Deployment 中加入注解:
...
spec:
  template:
    metadata:
      annotations:
        vault.hashicorp.com/agent-inject: "true"
        vault.hashicorp.com/role: "devweb-app"
        vault.hashicorp.com/agent-inject-secret-credentials.txt: "secret/data/devwebapp/config"
...
上面的注解表明,使用 devweb-app 角色,读取 secret/data/devwebapp/config 中的数据,保存到 /vault/secrets 目录的 credentials.txt 文件之中。
修改之后,等新的 Pod 启动成功。验证一下:
$ kubectl exec -it
    $(kubectl get pod --selector='app=devwebapp' --output='jsonpath={.items[0].metadata.name}')
    -c app -- cat /vault/secrets/credentials.txt
data: map[password:salsa username:giraffe]
metadata: map[created_time:2019-12-20T18:17:50.930264759Z deletion_time: destroyed:false version:2]
后记
这实际上是官方案例的一个翻译,另外 Vault 也提供了基于 secrets-store-csi-driver 的挂载方案供选用。
文章来源于互联网:在 Kubernetes 读取 Vault 中的机密信息


