windows系统 部署 Alist 方法
1.简单介绍
Alist 采用 Go 语言编写是一款开源免费的程序。使用 Alist 将常用的云盘(如阿里云盘、迅雷云盘、Google Drive 等)整合在一个界面中,形成统一的网盘访问入口。方便地在局域网或互联网中共享本地文件或云盘文件,有很好的文件共享。为公开文件、资料、文档提供统一的访问界面,支持大文件分发下载。Alist 因其简便的安装和高效的运行方式,特别适合个人、团队或中小企业使用,帮助轻松管理和分享文件。
2.项目展示
github地址:https://github.com/alist-org/alist
官网地址:https://alist.nn.ci/zh/
3.部署环境
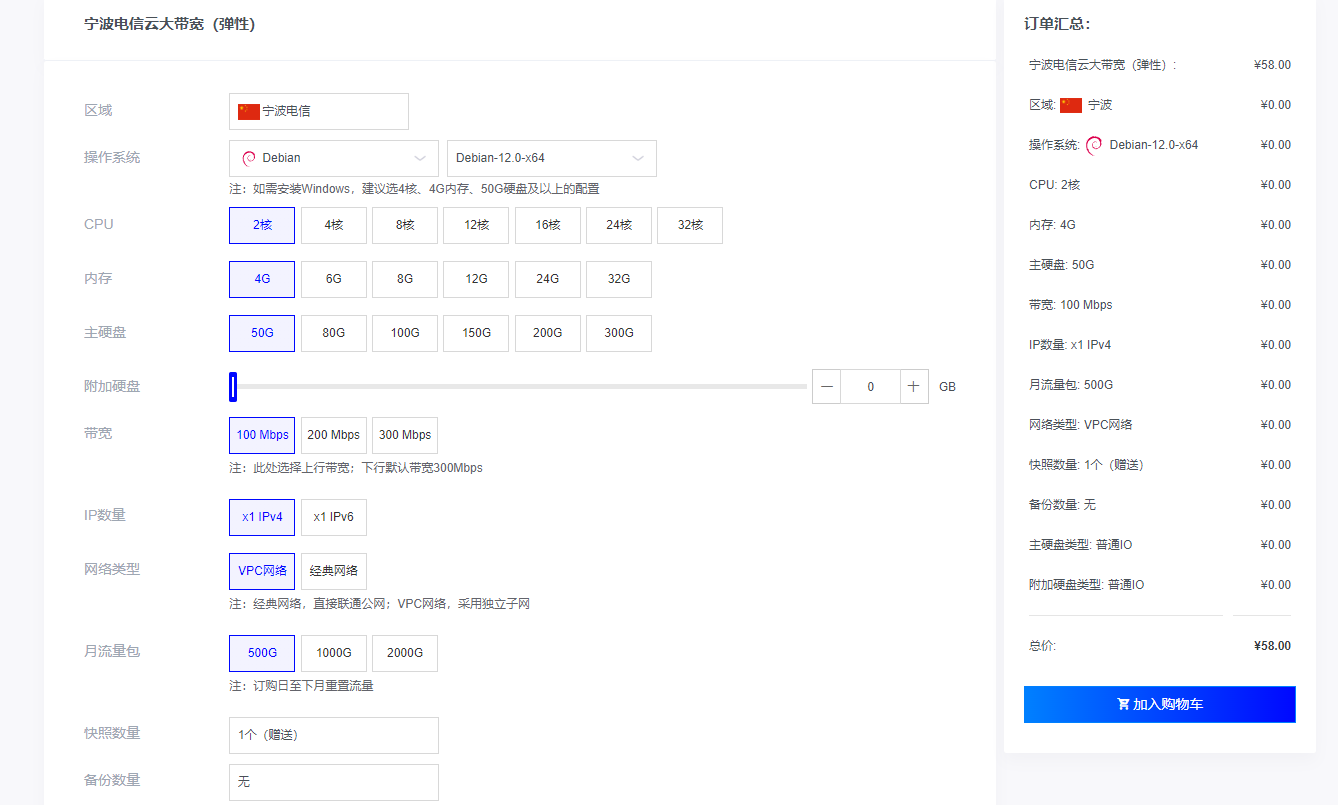
- 搭建服务器:使用莱卡云国内的大带宽,线路稳定的服务器。
https://www.lcayun.com/cart?action=configureproduct&pid=694&aff=ZFVSWGGQ - 系统:Windows-2016-Standard-x64-cn
服务器要求:内存建议2核4G 以上,硬盘30G以上可以大一些。
4.下载Alist
4.1进入github:https://github.com/alist-org/alist 进去最新版本界面
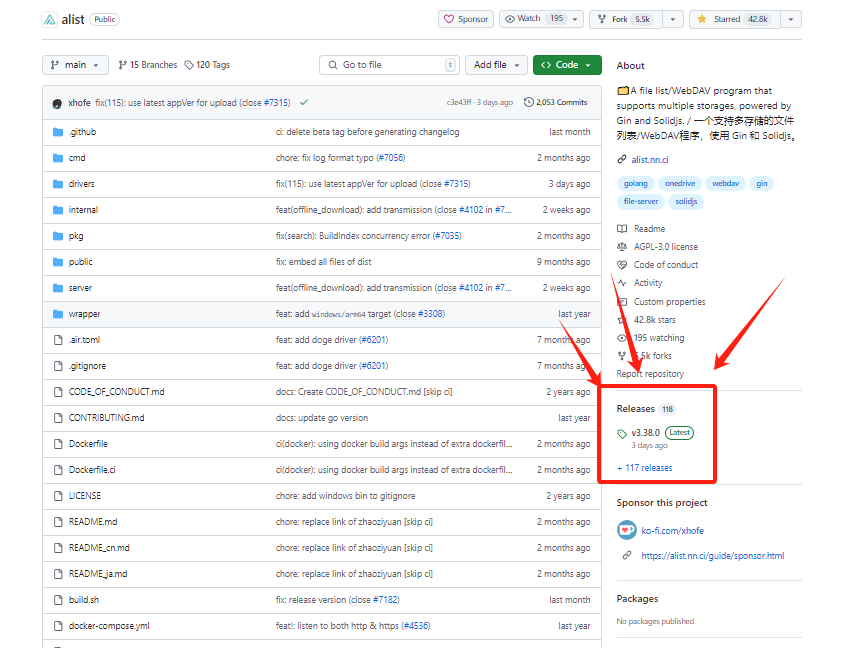
4.2 下载合适的版本到本地电脑

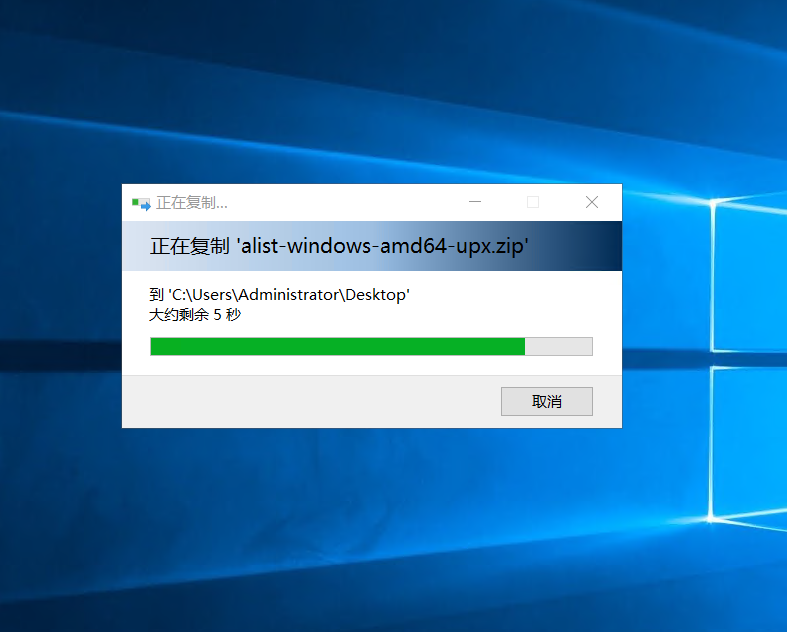
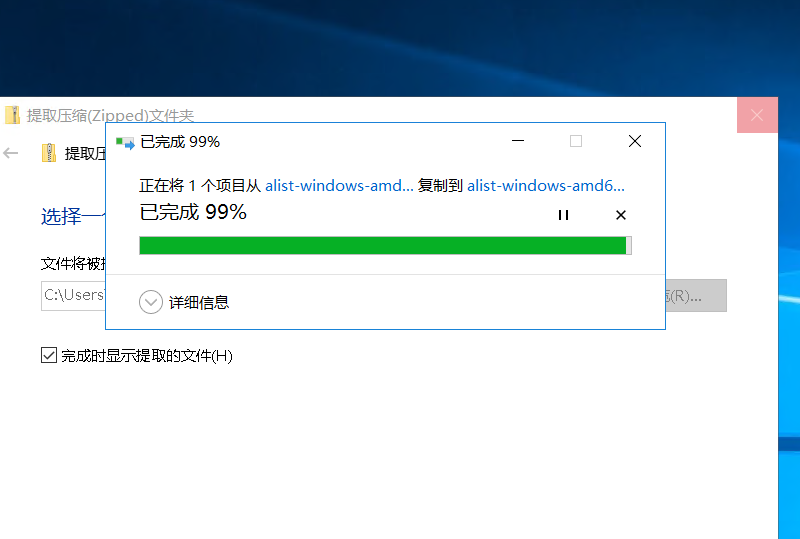
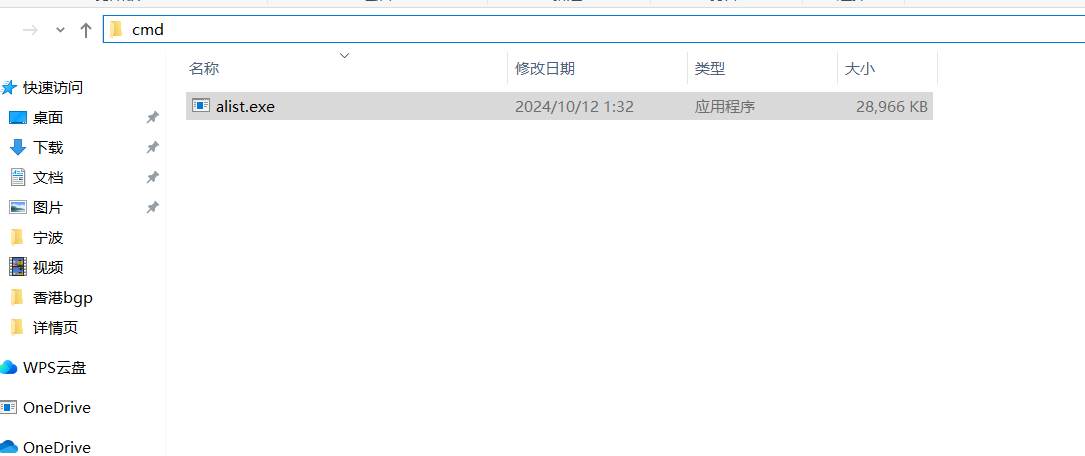
4.3把压缩包传输到服务器上,并解好压缩包
5.启动Alist
5.1选中Alist.exe,在文件搜索路径框内输入cmd
5.2启动运行程序
# 运行程序
.\alist.exe server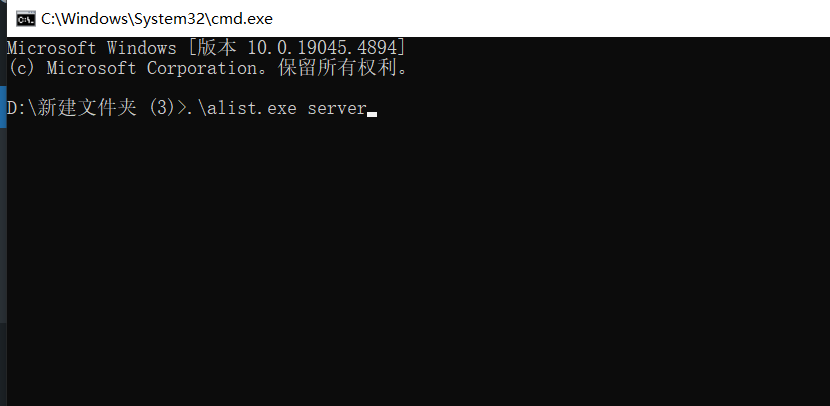
启动程序后,反馈中有初始的账号和密码,还知道程序默认监听 5244 端口。
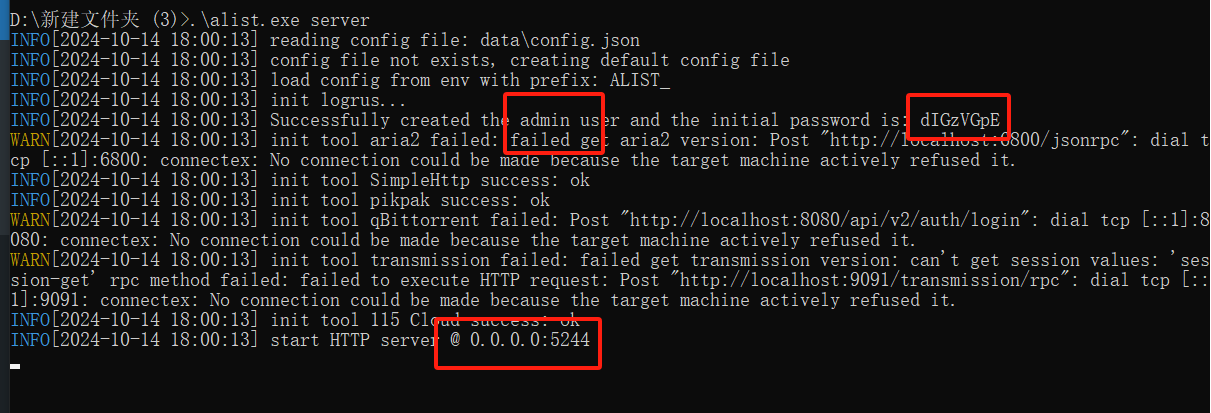
6.访问AList;通过服务器IP地址+5244端口访问AList

7.在Alist官网获取要添加的云盘刷新令牌

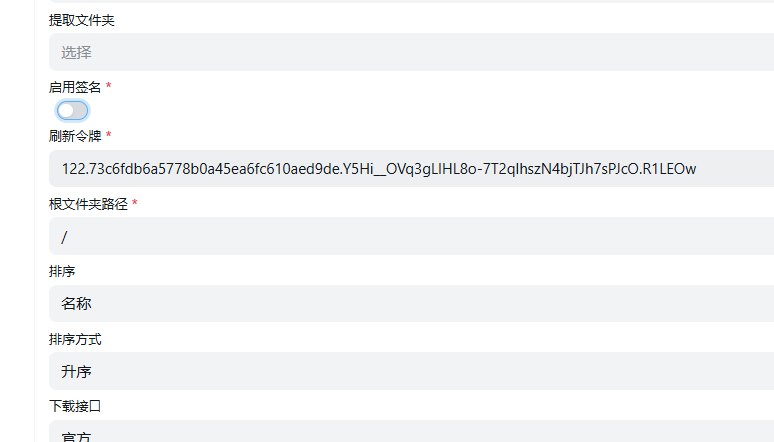
8.在Alist管理后台添加一个存储
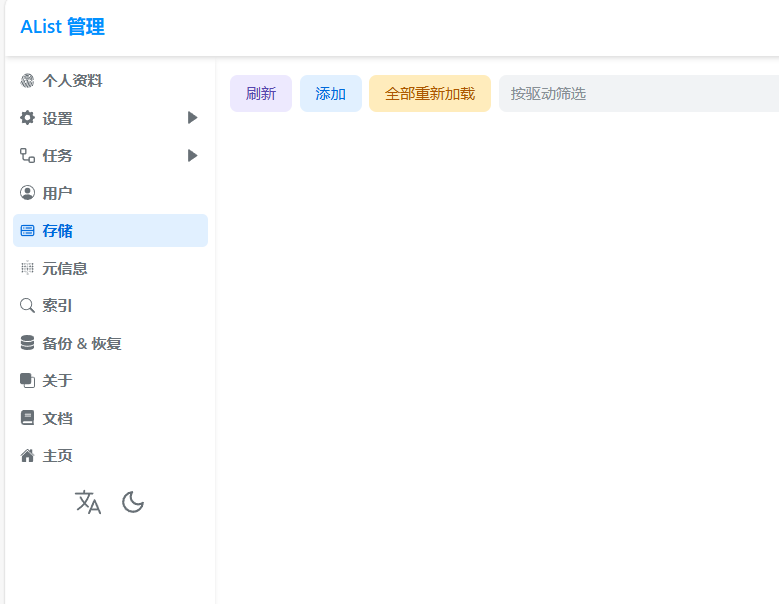
8.1自定义挂载路径

8.2添加获取到的刷新令牌
9.查看添加的存储是否成功
9.1点击主页
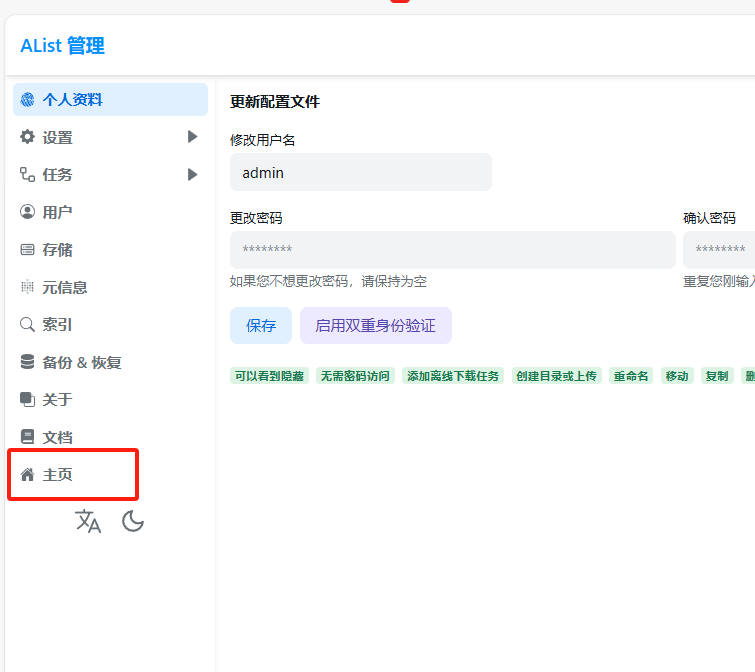
9.2查看添加进来的资源
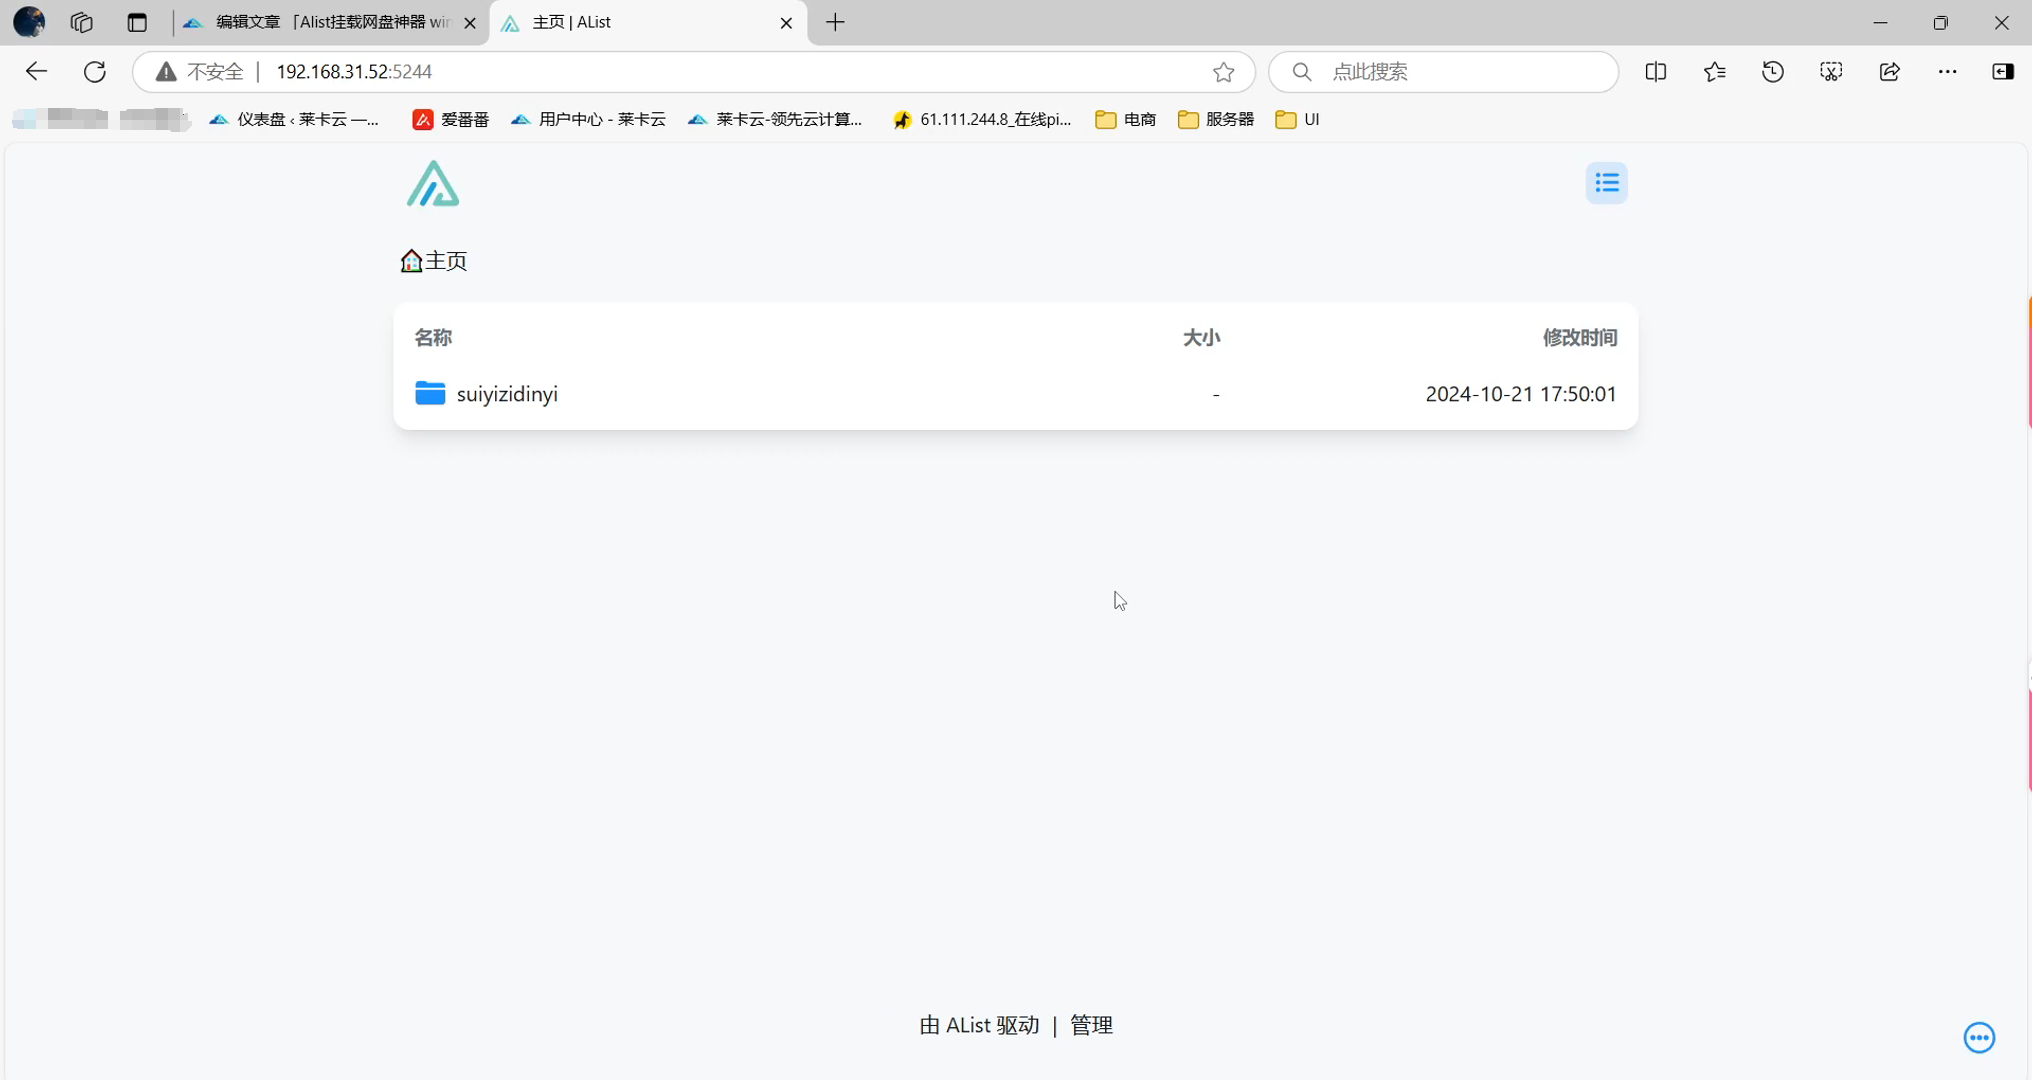
windows系统部署Alist到这里完成了部署操作
linux系统部署Alist
1.部署环境
- 搭建服务器:使用莱卡云国内的大带宽,线路稳定的服务器。
https://www.lcayun.com/cart?action=configureproduct&pid=694&aff=ZFVSWGGQ - 系统:仅适用于 Linux amd64/arm64 平台。我这里使用的是CentOS-8.2系统
服务器要求:内存建议2核2G 以上,硬盘30G以上可以大一些。
2.一键安装指令
安装
curl -fsSL "https://alist.nn.ci/v3.sh" | bash -s install更新
curl -fsSL "https://alist.nn.ci/v3.sh" | bash -s update卸载
curl -fsSL "https://alist.nn.ci/v3.sh" | bash -s uninstall3.配置Alist新密码
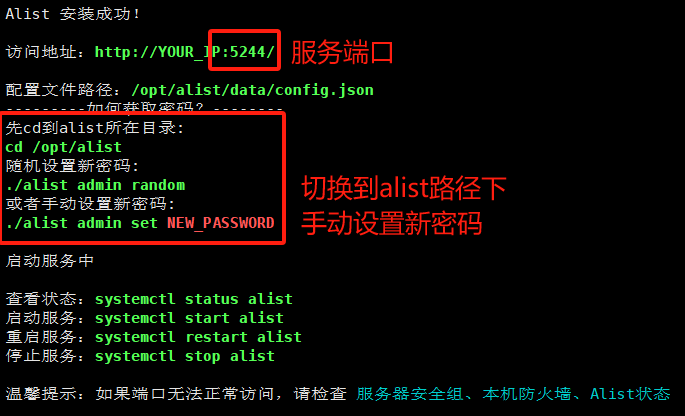
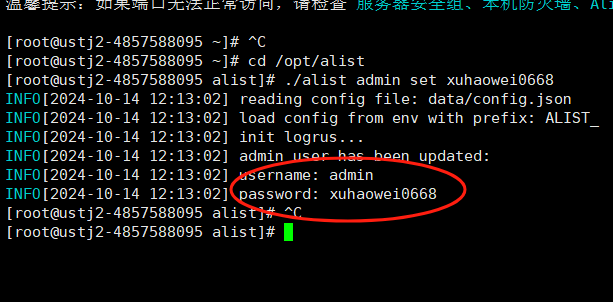
4.登录访问Alist
4.1使用服务器的ip地址+5244端口
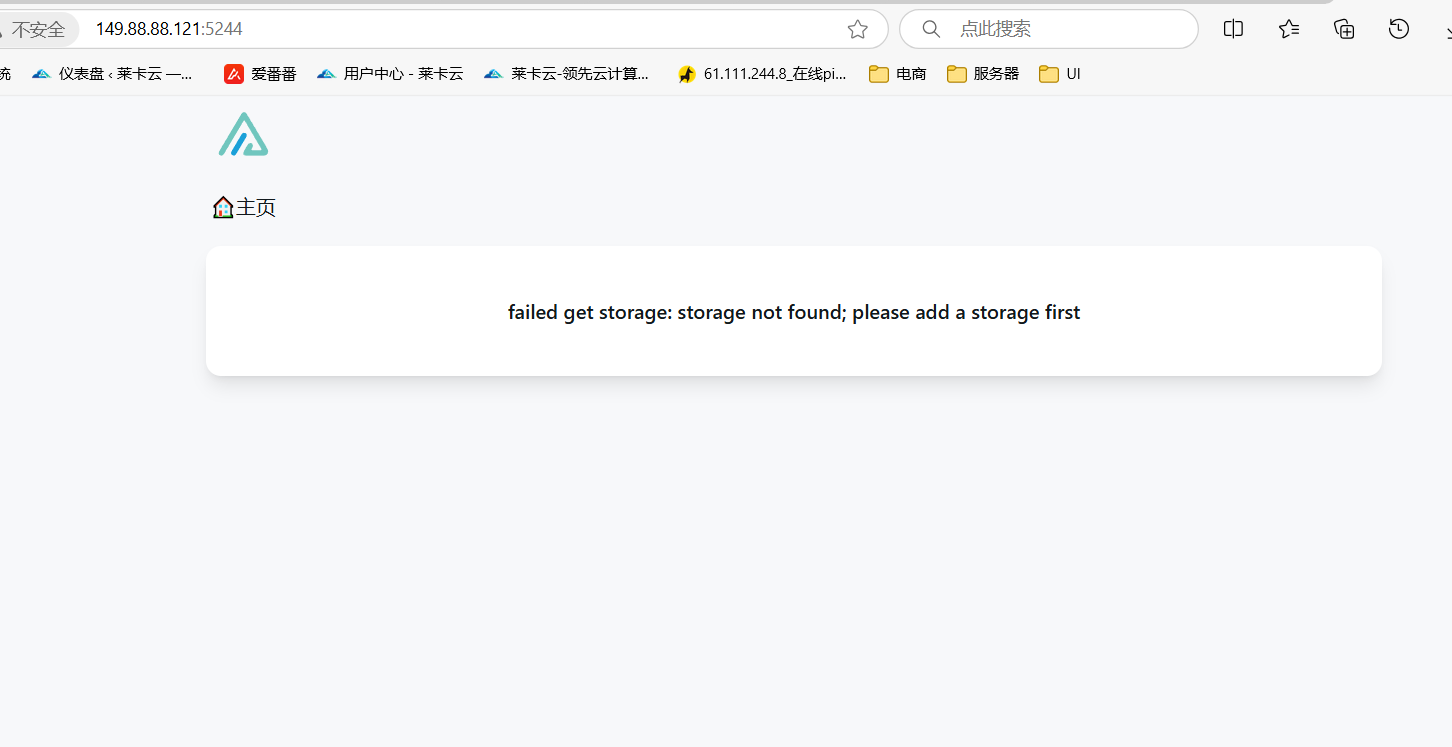
成功访问Alist后台管理界面,Linux系统的部署已经完成